Whether you are a budding podcaster, a video creator, or simply someone looking to improve the quality of their audio files, understanding how to use Adobe AI Audio for noise reduction can significantly enhance your output. We will introduce you to the fundamentals of Adobe AI Audio, alongside its interface, tools, and key features. In addition to understanding the prime benefits of audio noise reduction, the tutorial will take you on a journey of mastering Adobe AI’s noise reduction techniques, from identifying and isolating audio noise to applying the noise reduction tool efficiently to clean up the audio.
Understanding Adobe AI Audio Basics
Getting Familiar with Adobe AI Audio
Adobe AI Audio is a powerful tool that can be used to enhance the quality of your audio files by eliminating any unwanted noise. The first step in using Adobe AI Audio’s noise reduction feature is to understand the basic elements of the application, which includes the interface, tools, and key features.
The interface consists of a workspace for your audio files, a section for your media library, and a toolbar that hosts various tools and features. Familiarize yourself with these sections as they are crucial in manipulating your audio files.
The tool’s main features include spectral frequency display, waveform editor, diagnostics panel, and the effects racks. Each of these features plays a vital role in the quality of your finished audio file.
Understanding Audio Noise Reduction
Audio noise reduction is a technique used to decrease or remove unwanted noise from an audio recording. This is extremely important if you are dealing with audio recordings made in a noise-filled environment. Without the use of noise reduction techniques, audio files can be filled with background sounds that can distract listeners and obscure the main message of your audio.
The benefits of using Adobe AI Audio noise reduction include clearer audio, improved listener experience, and professionalism. It gives you control over your audio and helps you create high-quality projects.
Performing Noise Reduction with Adobe AI Audio
To use the noise reduction feature with Adobe AI Audio, follow these steps:
- Launch Adobe AI Audio and open the audio file you want to clean.
- Select a portion of your audio file that contains only the unwanted noise, not any of the audio you want to keep.
- From the toolbar, select ‘Effects’ and then choose ‘Noise Reduction/Restoration’ and then ‘Capture Noise Print’.
- Once captured, select the entire portion of audio file you want to clean.
- Go back to ‘Effects’, then ‘Noise Reduction/Restoration’ and select ‘Noise Reduction Process’. This will open a new window.
- Use this window to adjust the parameters of your noise reduction. Striking the right balance between reducing too much noise and retaining the original audio is key. Test and preview the sound to check if the changes are to your satisfaction.
- Apply the changes to the whole file after achieving the desired result.
With these steps, you can successfully perform audio noise reduction using Adobe AI Audio.
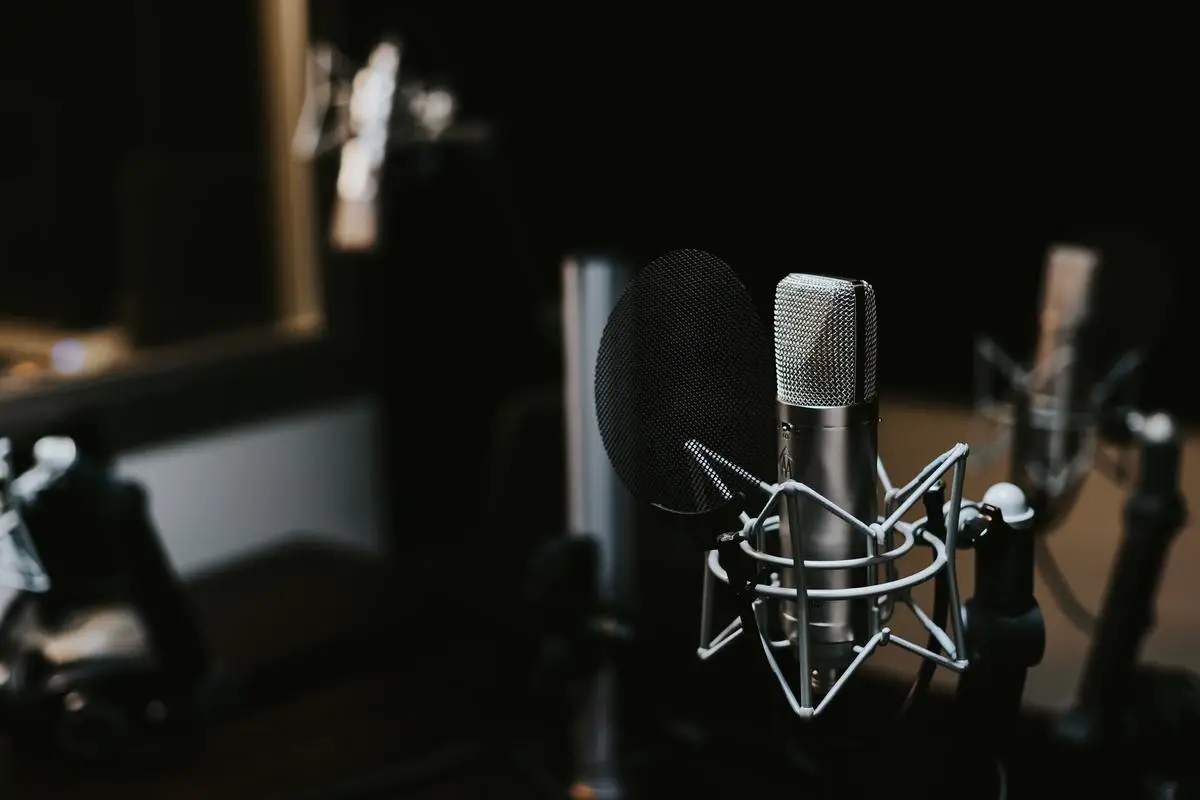
Photo by jonathanvez on Unsplash
Getting to grips with Adobe AI’s Noise Reduction feature
Understanding Adobe AI Audio Noise Reduction
Adobe AI provides advanced options and features for audio editing, one of which is the noise reduction feature. This function enables you to identify and isolate audio noise, providing the ability to manipulate and reduce unwanted noise in the background of your audio files. This feature holds its importance in delivering clean and crisp audio recordings.
Identifying and Isolating Audio Noise
To use the noise reduction feature, the first step is to identify and isolate the audio noise. This process begins by opening your audio file in the Adobe AI software, following these steps:
- Open Adobe AI and select File from the menu bar.
- Choose the Open option in the dropdown and locate the file you want to clean.
- After opening the file, you should see its waveform. Now, identify a section where only the unwanted noise is present – this could be a hiss, hum, or background chatter.
This step is crucial as Adobe AI uses this noise sample to find and remove similar noises throughout the whole audio file.
Applying the Noise Reduction Tool
Once you have identified and selected the noise, it’s time to apply the noise reduction tool. Follow these steps:
- Under the Effects menu, select Noise Reduction.
- In the Noise Reduction window, click on Capture Noise Print, then click OK.
- Adobe AI will now have a ‘blueprint’ of the noise. Select the entire waveform (Ctrl+A or Command+A for Mac).
- Go back to the Noise Reduction option in the Effects menu. This time, adjust the Noise Reduction and Reduce By sliders.
- The Noise Reduction slider controls how much of the detected noise gets removed. The Reduce By slider determines the level of reduction applied.
- Listen to your audio file after applying the noise reduction. If you are satisfied with the result, click Apply.
Repeating the Process for Optimal Results
If the initial pass of noise reduction did not fully clean up the noise, repeat the process. Adobe AI’s noise reduction tool tends to be more effective when used in multiple, successive passes, rather than one heavy-handed pass.
By following these steps, you will effectively utilize the noise reduction feature in Adobe AI, improving the quality of your audio and making your content more professional and engaging.

Practical Application & Troubleshooting
Gathering the Necessary Tools
The first step in using Adobe AI for audio noise reduction is to ensure you have Adobe Audition, a part of Adobe’s suite of programs in which the AI powered noise reduction feature is embedded. Make sure your Adobe Suite is up-to-date, and everything is properly installed and functional.
Opening your Audio File
Open Adobe Audition and import the audio file that you want to apply the noise reduction on. Go to the “File” menu, select “Open”, and browse the desired file on your local machine. The file will appear in the “Waveform” editor after successful import.
Identifying the Noise Profile
For Adobe AI to apply a noise reduction filter effectively, it first needs to understand what kind of noise it should reduce. This is known as a “Noise Profile”. Scroll through the waveform until you find a section where the noise is clearly visible. Highlight this part, go to the “Effects” menu, select “Noise Reduction / Restoration” and then click on “Capture Noise Print”.
Applying the Noise Reduction Filter
After creating a Noise Profile, you need to apply the Noise Reduction effect. First, deselect the noisy section and go back to the start of the waveform to ensure the effect applies to the entire audio recording. Return to the “Noise Reduction/Restoration” submenu, and this time select “Noise Reduction (process)”. A new window will pop-up with several controls.
Adjusting the Settings for Optimal Results
In the noise reduction window, there is a “Noise Reduction Strength” slider that allows you to control the amount of reduction applied. Listen to the audio as you adjust this setting, and go for a level where the noise is minimally perceptible but your audio is still clear. Other options include the “Reduce By” dB input and the Spectral Decay Rate slider.
Preview and Apply Changes
Before you finalize the changes, use the “play” button in the Noise Reduction window to preview the audio. If you’re not satisfied with the results, you have the option to tweak the settings a bit more. Once you’re happy with the results, hit “Apply” to eliminate the unwanted noise.
Troubleshooting Common Issues
Adobe Audition’s AI-powered noise reduction tool is highly effective, but you could still encounter issues. For instance, if your audio becomes distorted after noise reduction, experiment with lower settings on the noise reduction strength slider. If the tool isn’t adequately reducing noise, try fine-tuning the noise print by selecting a clearer sample of the background noise.
Adobe’s AI audio noise reduction is a powerful tool, yet it doesn’t perform magic.
If your source audio is heavily distorted or the background noise is too loud, consider re-recording in a quieter environment with better equipment.
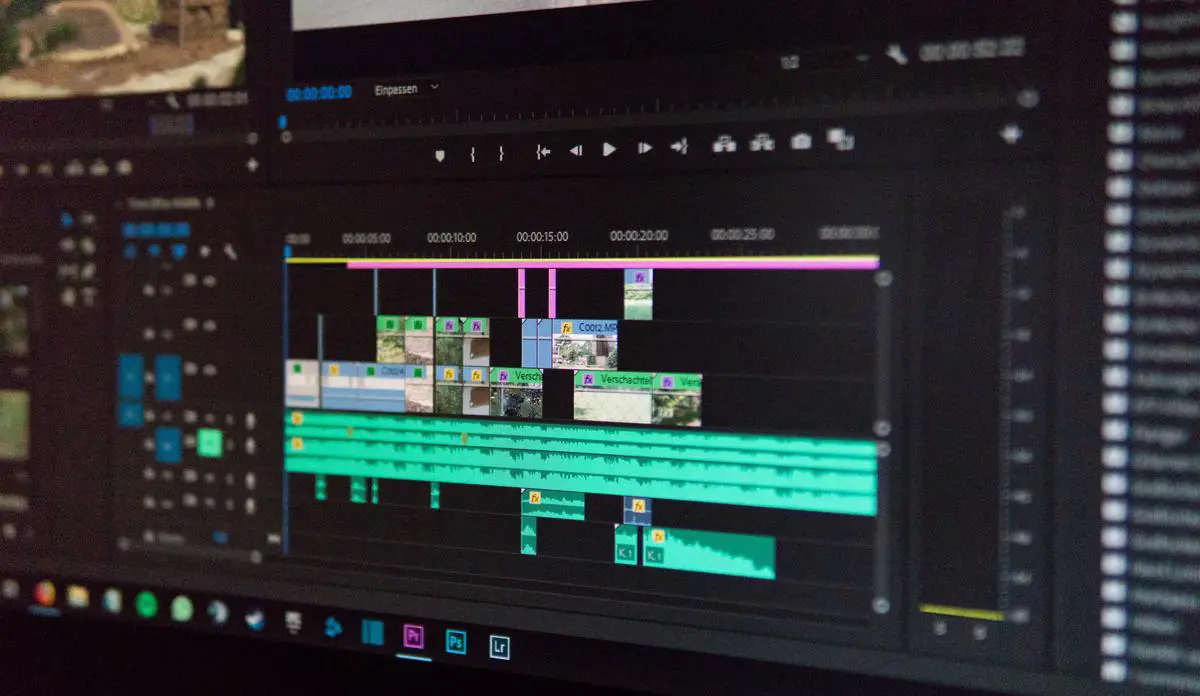
Photo by wahidkhene on Unsplash
Advanced Techniques
Identifying Types of Audio Noise
Recognizing the type of noise you want to reduce is vital in proper noise reduction. Not every noise can be handled in the same way so it’s crucial to understand which category of noise you are dealing with. The common kinds of noise you might encounter include hiss, hum, and buzz. Hiss is a form of high-frequency noise and is often observed in recording audio outdoors. Hum and buzz, on the other hand, are low-frequency are often caused by electrical equipment or flawed connections.
Using Adobe AI for Hiss Noise Reduction
Adobe AI can help to reduce the hiss noise effectively. After importing your audio file into Adobe AI, select the section of the audio that has the hiss noise. Go to the ‘Effects’ menu, then head over to ‘Noise Reduction/Restoration,’ and under that, choose ‘Hiss Reduction.’ A dialog box will appear with different settings. Adjust the ‘Hiss Reduction’ and ‘Reduction’ options according to your need and press ‘Apply’.
Reducing Hum and Buzz Noise with Adobe AI
Hum and buzz noises can also be handled effectively using Adobe AI. Find and select the section of your audio that has the hum or buzz noise. Head to the ‘Effects’ menu and under ‘Noise Reduction/Restoration,’ select ‘DeHummer.’ The DeHummer function targets specific frequencies commonly associated with electrical hum and equipment buzz. Make sure to adjust the ‘Reduce By’ and ‘Frequency’ options according to your need and press ‘Apply’.
Using Plug-ins for Advanced Noise Reduction
In addition to Adobe AI’s built-in noise reduction tools, you can use various plug-ins for more advanced options. Many third-party companies offer plug-ins for Adobe AI that are specialized in noise reduction. After installing your preferred plug-in, you can access it through the ‘Effects’ menu, under ‘Audio Plug-in Manager.’ Here, you can choose the plug-in you want to use and modify the settings according to your requirements.
Using Supplementary Tools for Noise Reduction
You can further reduce audio noise by employing supplementary tools like equalizers and filters. You can find the ‘Equalizer’ and ‘Parametric Equalizer’ under the ‘Effects’ menu in Adobe AI. Equalizers help in boosting or cutting specific frequencies which can aid in further reducing noise. Filters like ‘High Pass’ or ‘Low Pass’ can eliminate specific frequency ranges from your audio, which can be valuable in reducing noise.
Remember, noise reduction is often a task of balance. Removing too much noise can result in audio that sounds artificial or distorted. It’s usually better to remove a little less noise than to remove too much.

Audio noise reduction is not a daunting task with the powerful tools in Adobe AI. From identifying different noise levels to applying effective noise reduction techniques, you’ve developed the skills to clean up audio files effectively. You’ve also delved into complex processes dealing with distinct kinds of noise and activated plug-ins and supplementary tools for a more advanced reduction. Armed with this knowledge, you’re now better equipped to produce higher-quality audio that keeps your audience engaged and ensures your message is received clearly and effectively.